tyson seasoned steakhouse pork griller steak oven instructions
Tyson Seasoned Steakhouse Pork Griller Steak: A Comprehensive Oven Cooking Guide
Today, December 13, 2025, discover effortless oven preparation for Tyson’s pre-seasoned pork. This guide delivers expert instructions, ensuring a flavorful and perfectly cooked steakhouse experience every time!
Understanding the Product
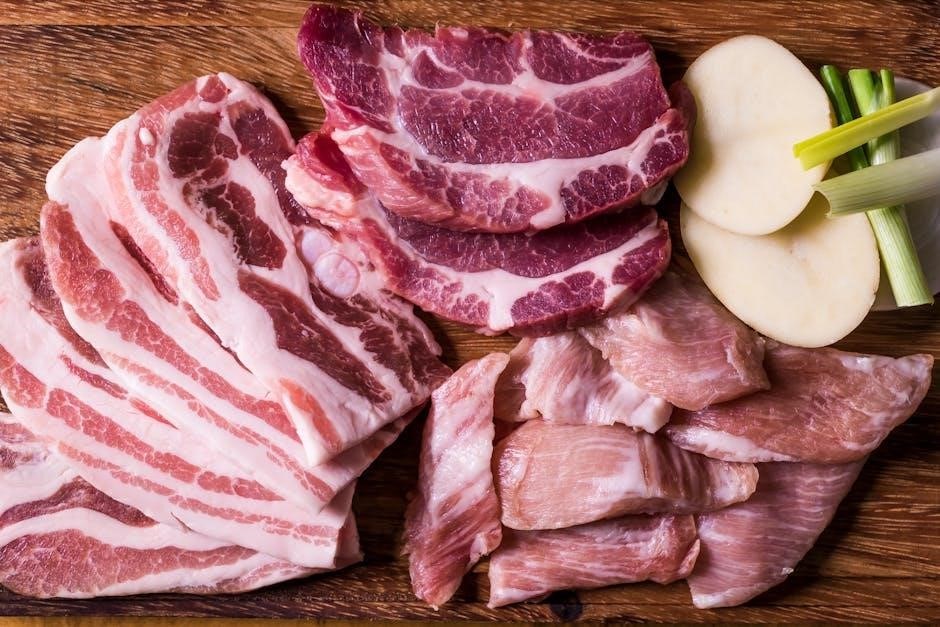
Tyson Seasoned Steakhouse Pork Griller Steak offers a convenient and flavorful meal solution, pre-seasoned for a delightful taste experience. These pork steaks are designed for easy cooking, particularly well-suited for oven preparation, grilling, or pan-searing. The seasoning blend aims to mimic the robust flavors of a classic steakhouse meal, eliminating the need for extensive marinade or rub application.
Understanding that color isn’t a reliable indicator of doneness is crucial; always prioritize achieving a safe internal temperature. The product is best when cooked to a minimum internal temperature of 145°F, followed by a 3-minute rest period. Proper refrigeration or freezing, before the “use by” date, is essential for maintaining freshness and food safety;
These steaks are a versatile option, pairing well with various side dishes like roasted vegetables, cornbread, or potatoes, making them a quick and satisfying dinner choice.
What is Tyson Seasoned Steakhouse Pork Griller Steak?
Tyson Seasoned Steakhouse Pork Griller Steak is a pre-seasoned pork cut designed to deliver a steakhouse-style flavor profile with the convenience of pork. It’s a readily available option for a quick and tasty meal, particularly suited for oven cooking, grilling, or pan-searing methods. The product aims to replicate the taste of a traditional steak, offering a flavorful alternative without the higher cost or preparation time.
These steaks are typically found in the refrigerated section of grocery stores and are best utilized before their “use by” date. Remember, achieving an internal temperature of 145°F, followed by a 3-minute rest, is vital for both flavor and food safety.
The seasoning is already incorporated, simplifying the cooking process and making it an ideal choice for busy weeknights. Enjoy with complementary sides like roasted vegetables or potatoes!
Key Features and Seasoning Profile
Tyson Seasoned Steakhouse Pork Griller Steak boasts several key features, primarily its convenience and pre-seasoned nature. This eliminates the need for marinating or extensive spice rubs, saving valuable time in the kitchen. The steak is designed for versatility, lending itself well to oven baking, searing, and grilling techniques.
The seasoning profile aims to mimic a classic steakhouse experience, featuring a blend of savory herbs and spices. While the exact composition is proprietary, expect notes of garlic, pepper, and potentially paprika. This robust seasoning penetrates the pork, creating a flavorful crust during cooking.
Remember to always ensure the internal temperature reaches 145°F for optimal safety and flavor. Proper refrigeration and adherence to the “use by” date are also crucial for maintaining quality.
Preparation Before Oven Cooking
Begin by safely thawing the Tyson pork steak. Prioritize food safety, preheat your oven, and prepare for a delicious meal with these essential steps!
Thawing the Pork Griller Steak
Proper thawing is crucial for even cooking and optimal flavor of your Tyson Seasoned Steakhouse Pork Griller Steak. The safest method is refrigerator thawing; place the frozen steak on a plate or in a container to catch any drips. Allow ample time – typically, this takes 24 to 48 hours, depending on the thickness of the steak.
For faster thawing, you can use the cold water method. Submerge the sealed steak in a bowl of cold water, changing the water every 30 minutes to maintain a consistently cold temperature. Never thaw at room temperature, as this can promote bacterial growth.
Once thawed, the steak should be cooked immediately. Do not refreeze a steak that has been thawed using the cold water method. Always prioritize food safety and ensure the steak is thoroughly cooked to an internal temperature of 145°F.
Essential Safety Precautions
Food safety is paramount when preparing Tyson Seasoned Steakhouse Pork Griller Steak. Always wash your hands thoroughly with soap and water before and after handling raw pork. Prevent cross-contamination by using separate cutting boards and utensils for raw meat and other foods.
Ensure the steak is cooked to a minimum internal temperature of 145°F, followed by a 3-minute rest, to eliminate harmful bacteria. Never consume undercooked pork. Keep refrigerated or frozen prior to use, adhering to the “best by” date on the packaging.
When thawing, always use the refrigerator or cold water method – never at room temperature. Properly dispose of any packaging materials and thoroughly clean all surfaces that have come into contact with raw pork. Prioritize hygiene for a safe and delicious meal.
Preheating the Oven
Proper oven preheating is crucial for even cooking of your Tyson Seasoned Steakhouse Pork Griller Steak. Begin by setting your oven to the recommended temperature – typically around 375°F to 400°F, depending on the desired cooking speed and steak thickness. Allow sufficient time for the oven to reach the set temperature, usually 15-20 minutes.
Using an oven thermometer is highly recommended to verify the accuracy of your oven’s temperature. An inaccurate temperature can significantly impact the final result. Ensure the oven rack is positioned in the center for optimal heat circulation.
For the searing and oven-finishing technique, preheating is even more vital to achieve a beautiful crust. A fully preheated oven guarantees consistent cooking and a tender, flavorful pork steak.
Oven Cooking Methods
Explore versatile oven techniques! Choose direct baking, or enhance flavor with a sear followed by oven finishing for a tender Tyson steak.
Direct Oven Baking Instructions
Direct oven baking offers a simple route to a delicious Tyson Seasoned Steakhouse Pork Griller Steak. Begin by preheating your oven to the recommended temperature – details are in the next section! Place the pork steak directly onto a baking sheet, ensuring it’s not overcrowded for even cooking.
For optimal results, consider lightly greasing the baking sheet to prevent sticking. Baking directly exposes the steak to consistent heat, allowing the seasoning to meld beautifully. Monitor closely, as cooking times vary based on thickness. Remember to utilize a meat thermometer to guarantee safe and flavorful results. This method is ideal for a hands-off approach, delivering a reliably tasty meal with minimal effort. It’s a fantastic option for busy weeknights!
Searing and Oven Finishing Technique
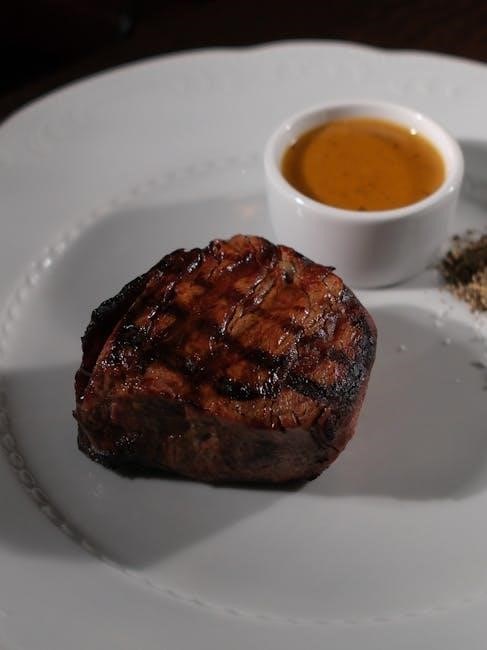
Elevate your Tyson Seasoned Steakhouse Pork Griller Steak with the searing and oven finishing technique! Begin by searing the steak in a hot skillet with a little oil – this creates a flavorful crust. After searing, transfer the skillet to the oven and continue cooking your pork for an additional 10-15 minutes.
This dual-method maximizes flavor and texture. Searing locks in juices, while oven finishing ensures even cooking throughout. Ensure the skillet is oven-safe before transferring! Monitor the internal temperature closely with a meat thermometer. This technique provides a restaurant-quality result, boasting a beautiful sear and tender, juicy interior. It’s a slightly more involved process, but the enhanced flavor is well worth the effort!
Using a Baking Rack for Optimal Results
For truly exceptional Tyson Seasoned Steakhouse Pork Griller Steak, consider utilizing a baking rack during oven cooking. Placing the steak on a rack within a baking sheet allows for 360-degree air circulation, promoting even cooking and a superior texture. This prevents the bottom from becoming soggy, resulting in a crispier exterior.
The elevated position also allows rendered fat to drip away, contributing to a leaner and more flavorful final product. Line the baking sheet below the rack with foil for easy cleanup. This method is particularly beneficial when baking without an initial sear. It’s a simple adjustment that significantly enhances the overall quality of your pork, delivering a more professional and satisfying result.

Cooking Time and Temperature
Tyson pork requires a recommended oven temperature, typically around 375°F. Cooking time varies based on steak thickness, ranging from 10-15 minutes for optimal results.
Recommended Oven Temperature
When oven cooking Tyson Seasoned Steakhouse Pork Griller Steak, maintaining the correct temperature is paramount for achieving a juicy and flavorful result. A consistent 375°F (190°C) is generally recommended as the ideal oven temperature. This allows the pork to cook evenly throughout, ensuring it reaches a safe internal temperature without drying out.
However, slight adjustments can be made based on your oven’s calibration and personal preference. If you prefer a more well-done steak, you might consider increasing the temperature to 400°F (204°C), but be sure to monitor the internal temperature closely to prevent overcooking; Conversely, for a slightly more tender result, a lower temperature of 350°F (177°C) can be used, though this will extend the cooking time.
Regardless of the chosen temperature, preheating the oven thoroughly is crucial. This ensures that the steak begins cooking immediately upon entering the oven, promoting even cooking and optimal texture. Always use an oven thermometer to verify the accuracy of your oven’s temperature setting.
Cooking Time Based on Steak Thickness
The cooking time for Tyson Seasoned Steakhouse Pork Griller Steak in the oven is directly correlated to its thickness. For steaks measuring approximately ½ inch thick, a cooking time of around 15-20 minutes is generally sufficient. Steaks that are ¾ inch to 1 inch thick will require a longer cooking time, typically ranging from 20-25 minutes.
It’s essential to remember that these are estimates, and actual cooking times may vary depending on your oven and the starting temperature of the steak. Always use a meat thermometer to verify doneness, rather than relying solely on time. If you are using the searing and oven finishing technique, remember the oven time is after the initial sear.
For thicker cuts exceeding 1 inch, consider extending the cooking time by an additional 5-10 minutes, checking the internal temperature frequently. Consistent monitoring is key to achieving perfectly cooked pork.
Internal Temperature Guidelines
Achieving the correct internal temperature is paramount for both flavor and food safety when cooking Tyson Seasoned Steakhouse Pork Griller Steak. The USDA recommends cooking pork to a minimum internal temperature of 145°F (63°C), followed by a 3-minute rest. This ensures any harmful bacteria are eliminated while maintaining juiciness.

Using a reliable meat thermometer is crucial; insert it into the thickest part of the steak, avoiding bone. While color can offer a visual cue, it’s not a dependable indicator of doneness. Relying solely on color can lead to undercooked or overcooked pork.
Remember, the temperature will continue to rise slightly during the resting period. Therefore, remove the steak from the oven when it reaches 143-144°F to allow for carryover cooking and achieve the optimal 145°F final temperature.

Ensuring Doneness and Safety
Prioritize food safety! Always verify the Tyson pork reaches 145°F with a thermometer, followed by a 3-minute rest, for a delicious and secure meal.
Using a Meat Thermometer
Achieving perfectly cooked Tyson Seasoned Steakhouse Pork Griller Steak relies heavily on accurate temperature monitoring. A meat thermometer is your most reliable tool, surpassing visual cues like color, which can be misleading. Insert the thermometer into the thickest part of the steak, avoiding bone, to obtain a precise reading.
Digital thermometers offer quick and easy-to-read results, while instant-read models provide near-instantaneous temperature checks. Regardless of the type, ensure the probe is clean before and after each use for optimal hygiene. Regularly calibrate your thermometer to maintain accuracy. Remember, the USDA recommends cooking pork to a minimum internal temperature of 145°F (63°C), followed by a 3-minute rest, to ensure safety and tenderness. Consistent monitoring guarantees a safe and flavorful dining experience.
The 145°F Rule and 3-Minute Rest
Food safety guidelines dictate that Tyson Seasoned Steakhouse Pork Griller Steak must reach an internal temperature of 145°F (63°C) to eliminate harmful bacteria. However, achieving this temperature is only part of the process. Crucially, allow the steak to rest for a full 3 minutes after removing it from the oven.
This resting period allows the juices to redistribute throughout the meat, resulting in a more tender and flavorful steak. During cooking, the heat forces juices towards the center; resting allows them to flow back into the muscle fibers. Tent the steak loosely with foil during the rest to maintain warmth without steaming. Ignoring the 3-minute rest can lead to a drier, less enjoyable eating experience. Prioritize both temperature and rest for optimal results!
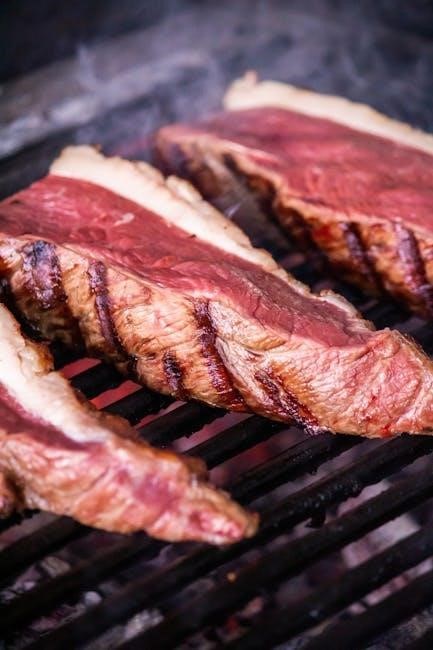
Color as an Indicator of Doneness (and its limitations)

While observing the color of Tyson Seasoned Steakhouse Pork Griller Steak can seem helpful, relying solely on visual cues is unreliable and potentially unsafe. The pre-seasoning and inherent color of the pork can mask true doneness. A pink hue doesn’t always indicate undercooking, and a browned exterior doesn’t guarantee a safe internal temperature.
Color is not an accurate indicator of final cooked temperature. Always use a reliable meat thermometer to confirm the internal temperature has reached the recommended 145°F. This ensures the pork is safely cooked and eliminates the risk of foodborne illness. Trust the thermometer, not just your eyes, for consistently perfect and safe results with your pork griller steak.
Serving and Pairing Suggestions
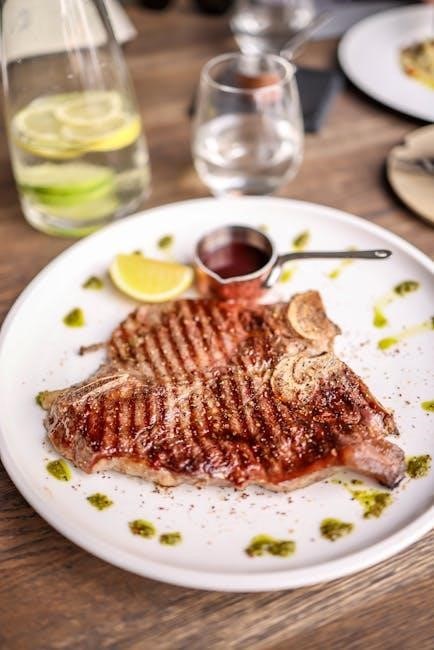
Elevate your Tyson pork with roasted vegetables, cornbread, or potatoes! Pair with wine or your favorite beverage for a complete, delicious meal.
Recommended Side Dishes
Tyson Seasoned Steakhouse Pork Griller Steak pairs wonderfully with a variety of sides, creating a balanced and satisfying meal. For a classic comfort food experience, consider creamy mashed potatoes or fluffy, golden-brown roasted potatoes.
Roasted or grilled vegetables offer a healthy and flavorful complement; broccoli, asparagus, and bell peppers are excellent choices. A side of cornbread adds a touch of sweetness and texture, perfectly soaking up any savory juices.
Don’t overlook the simplicity of a fresh garden salad with a light vinaigrette. Macaroni and cheese, coleslaw, or even baked beans can also enhance the dining experience. Ultimately, the best side dish is one that complements your personal preferences and completes the meal!
Sauce and Seasoning Enhancements
While Tyson Seasoned Steakhouse Pork Griller Steak is pre-seasoned for delicious flavor, a complementary sauce can elevate your meal. A smoky barbecue sauce, a tangy honey mustard, or a creamy horseradish sauce all pair exceptionally well with pork.
For those who enjoy a bit of spice, consider a sriracha mayo or a chipotle aioli. A simple pan sauce, created from the drippings after cooking, adds richness and depth.
Enhance the seasoning further with a sprinkle of garlic powder, onion powder, or paprika after cooking. Fresh herbs like rosemary or thyme can also add a vibrant aroma and flavor. Remember to taste and adjust seasonings to your preference, creating a truly personalized dish!
Wine and Beverage Pairings
Tyson Seasoned Steakhouse Pork Griller Steak, with its savory and seasoned profile, pairs beautifully with a variety of beverages. For wine lovers, a medium-bodied red wine like Pinot Noir or Merlot complements the pork’s richness without overpowering it.
A dry rosé is also an excellent choice, offering a refreshing contrast to the savory flavors. If you prefer beer, a pale ale or a brown ale provides a balanced pairing. For non-alcoholic options, consider a sparkling cider or a crisp apple juice.
Iced tea, particularly a slightly sweetened variety, also works well. Ultimately, the best beverage pairing depends on your personal preference, but these suggestions offer a great starting point for enhancing your dining experience.

Storage and Handling
Tyson Pork Griller Steak requires refrigeration or freezing until use. Always adhere to the “use by” date for optimal freshness and food safety!
Refrigeration Guidelines
Tyson Seasoned Steakhouse Pork Griller Steak, once thawed, should be refrigerated immediately to maintain optimal quality and prevent bacterial growth. Store the pork in its original packaging, or transfer it to an airtight container or resealable plastic bag. This helps to prevent freezer burn and maintain the steak’s seasoned flavor.
Maintain a consistent refrigerator temperature of 40°F (4°C) or below. Consume the refrigerated pork within 1-2 days for the best taste and texture. Always check for any off-odors or discoloration before cooking; if present, discard the steak immediately. Proper refrigeration is crucial for food safety and ensures a delicious meal. Remember to keep the pork separate from other raw meats to avoid cross-contamination.
Regularly check your refrigerator’s temperature to ensure it’s functioning correctly. Following these guidelines will help you enjoy your Tyson pork safely and deliciously!
Freezing Instructions
To preserve Tyson Seasoned Steakhouse Pork Griller Steak for longer storage, freezing is an excellent option. For best results, wrap the steak tightly in freezer-safe plastic wrap, ensuring all air is removed. Then, place the wrapped steak inside a freezer-safe bag or container. This double-layer protection prevents freezer burn and maintains the steak’s quality.
Label the package with the date of freezing for easy tracking. Frozen pork can generally be stored for up to 4-6 months, although flavor and texture may begin to degrade after this period. When ready to use, thaw the steak in the refrigerator overnight for optimal safety and even cooking. Avoid thawing at room temperature.
Remember to use frozen pork before the “best by” date on the package. Proper freezing extends the shelf life and allows you to enjoy Tyson pork whenever you desire!
Best By Date and Food Safety
Understanding the “best by” date on your Tyson Seasoned Steakhouse Pork Griller Steak is crucial for optimal quality and safety. This date isn’t a safety deadline, but rather an indication of when the product is at its peak flavor and texture. Always prioritize safe food handling practices, regardless of the date.
Keep the pork refrigerated or frozen consistently until cooking. If frozen, use before the date printed on the package. Once thawed, cook within 1-2 days. Always ensure the internal temperature reaches a minimum of 145°F (63°C) as measured with a meat thermometer, followed by a 3-minute rest period.
Proper storage and cooking are vital to prevent foodborne illness. Discard any pork that has an unusual odor, color, or texture. Following these guidelines ensures a safe and delicious meal with Tyson pork!